RE-COVERING A SEAT
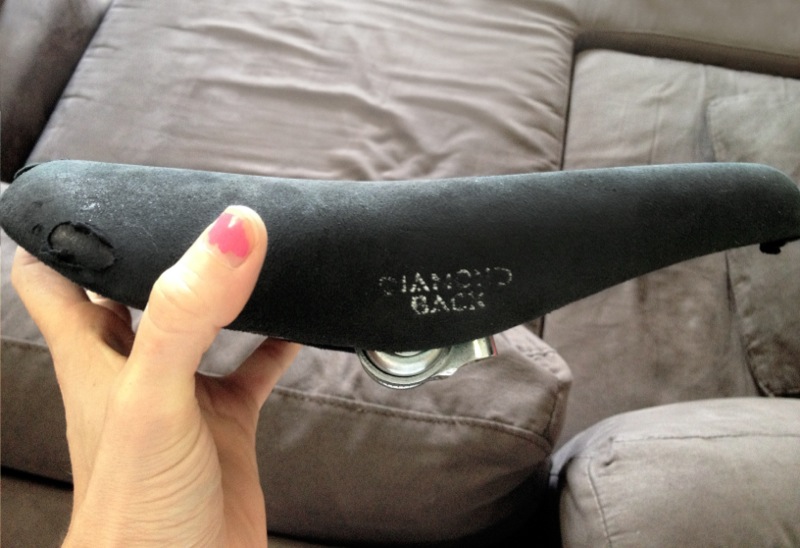
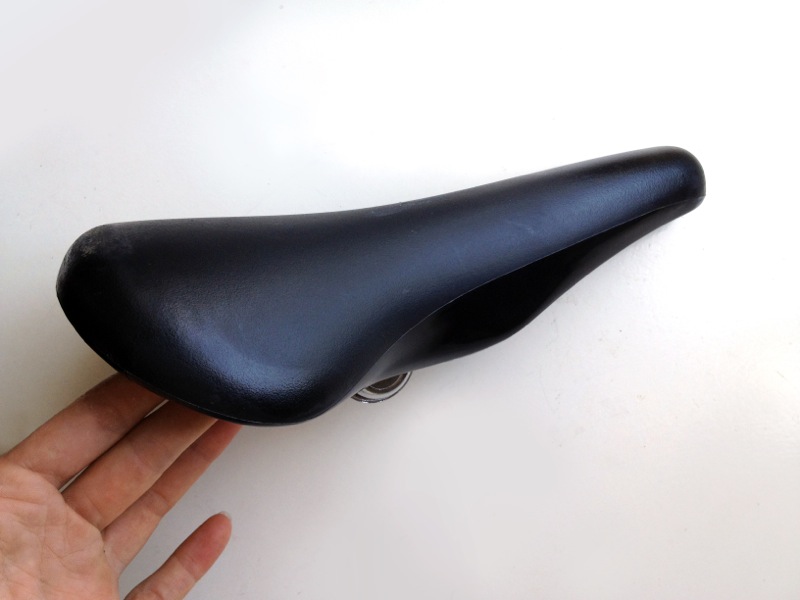
A few friends and folk who’ve seen my build diaries have asked for some step by step how-tos on my methods for restoring and refinishing various parts. I recently re-covered a rare vintage Kashimax Five-Gold Diamondback seat and took the opportunity to take a few photos along the way. I’m sure there are other methods and materials that might work equally as well, this is the way that I’ve found works best for me. I hope others find it helpful…
Here’s the seat with its original suede cover, torn and worn through to the nylon below…

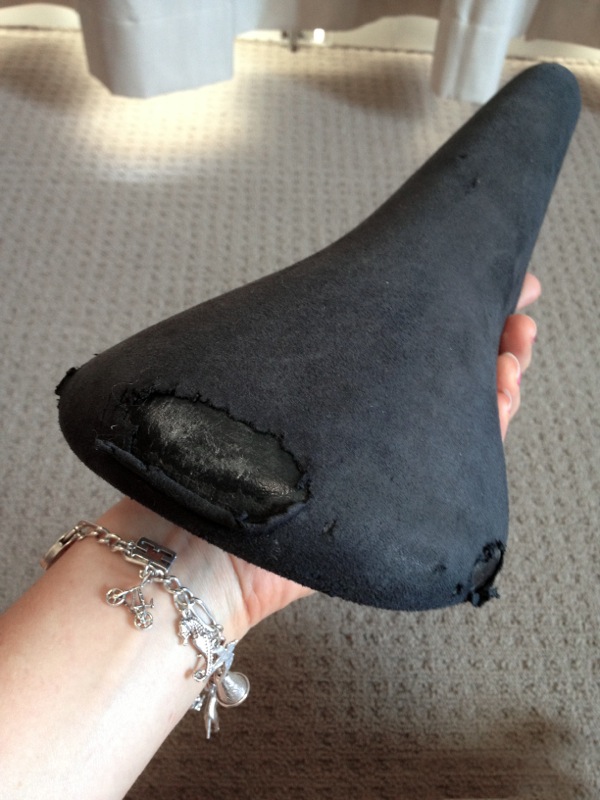
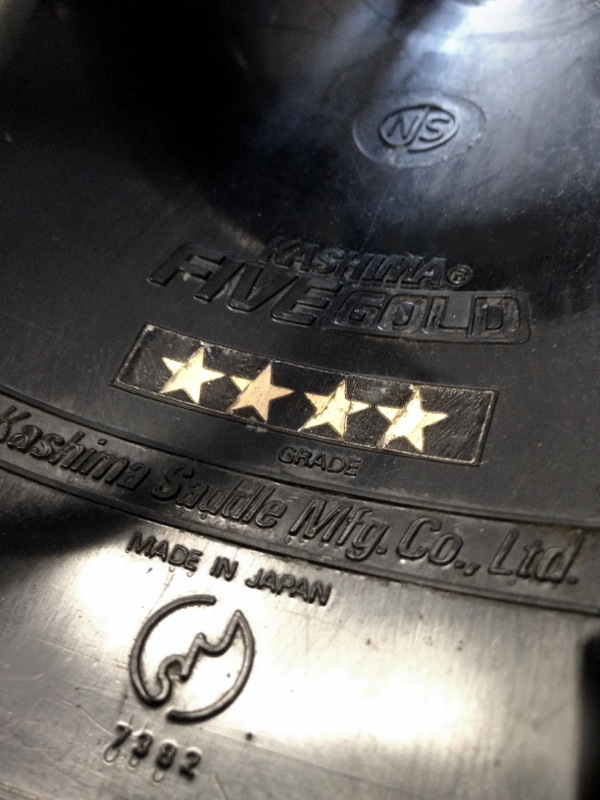
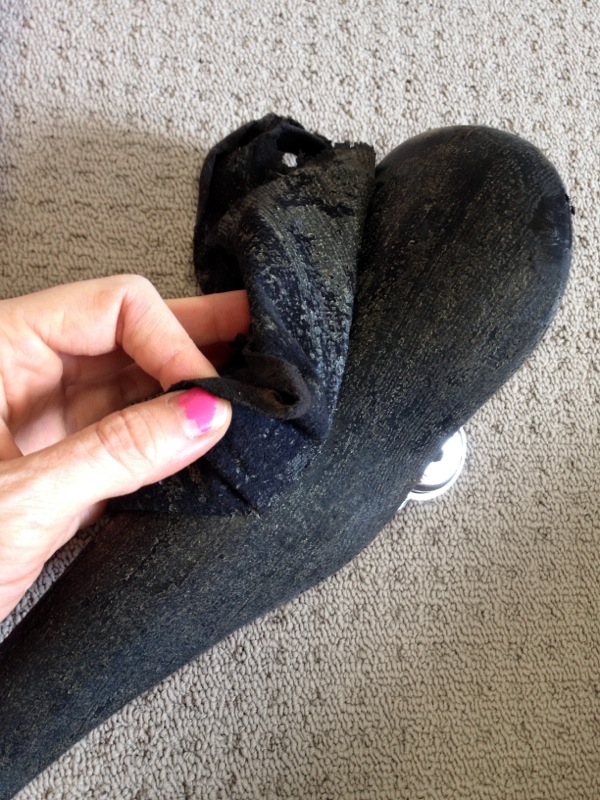
Removing the old cover, peeling the suede from the nylon, starting from the undersides…
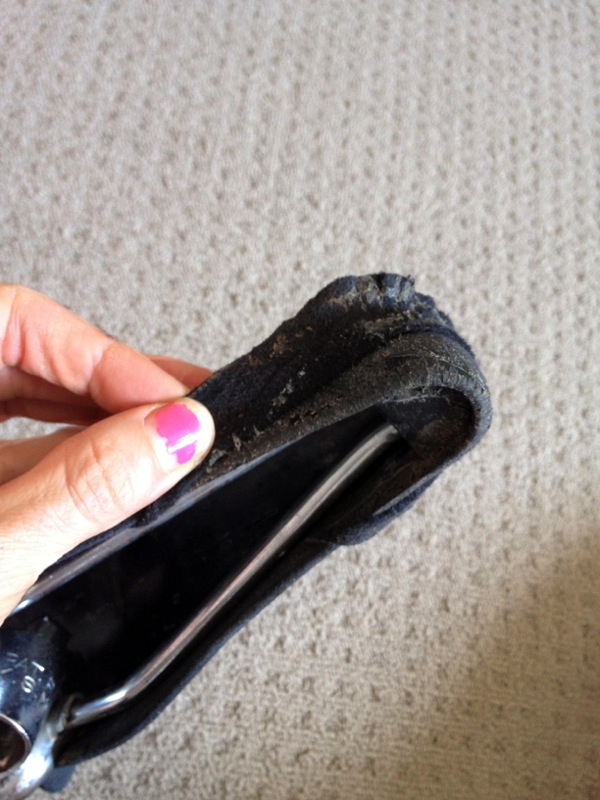
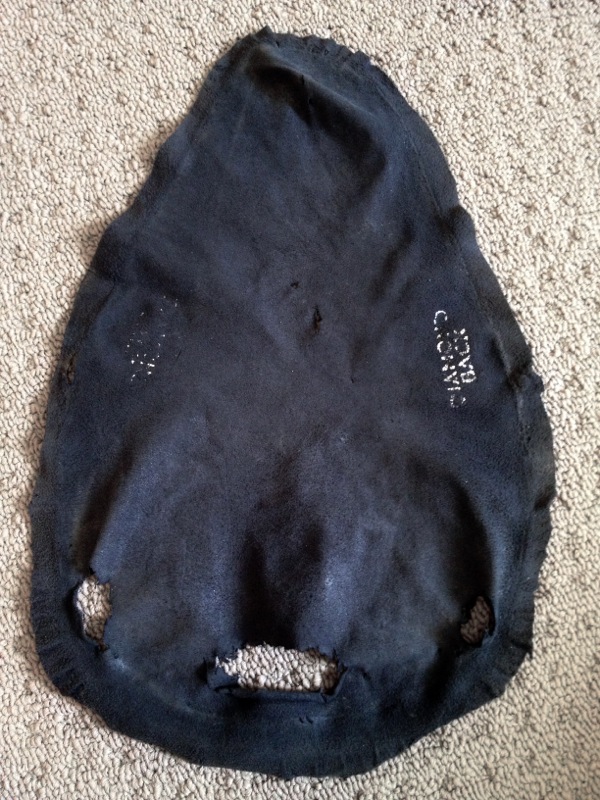
The old suede cover, removed and set aside to use as a template for cutting out the new cover…
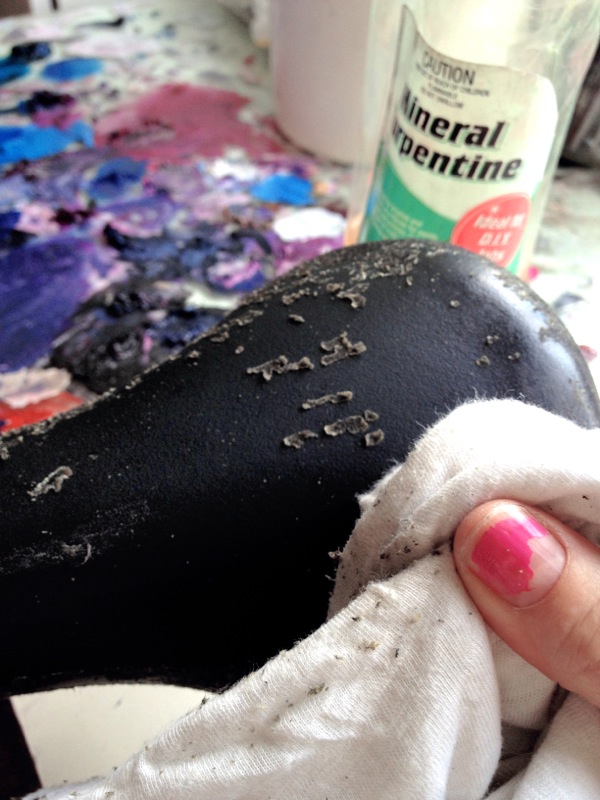
Rubbing off the old glue with turps so that the new glue will have a smooth surface and good adherence…
Using a palette knife to scrape off the last of the old glue from the tight spots before a final rub with the turps rag…
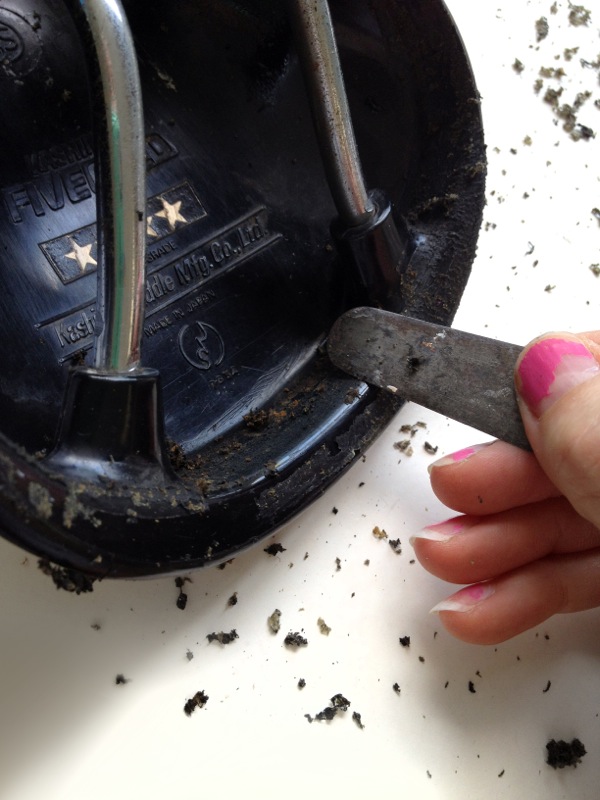
Clean and dry and ready for fresh glue…
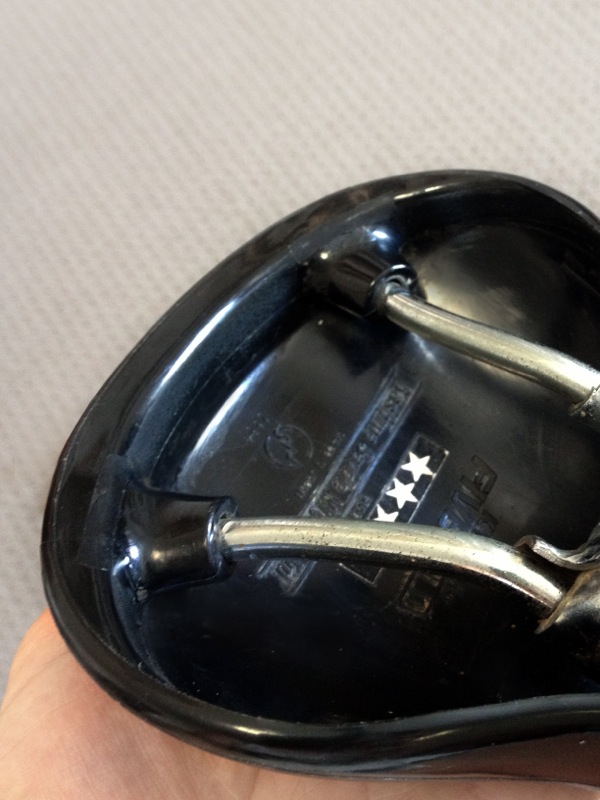
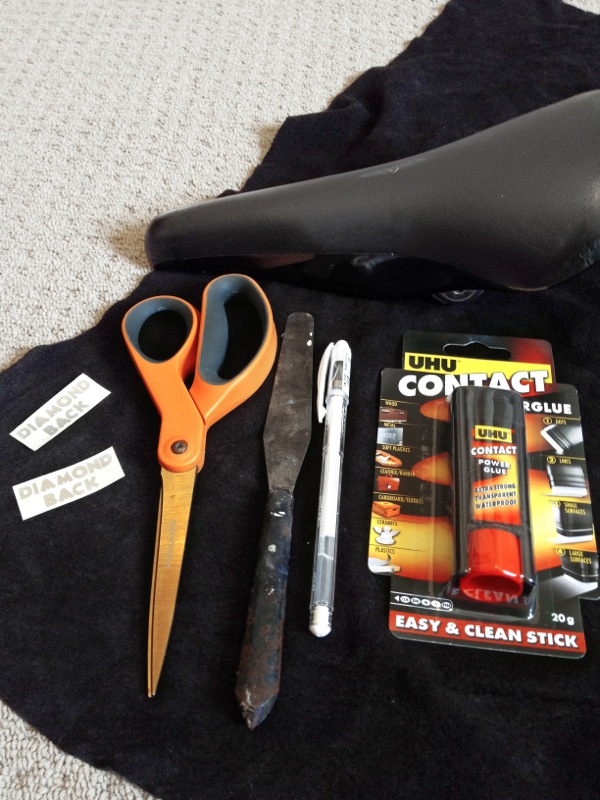
Re-covering supplies: Scissors, palette knife, white pen, UHU Contact Power Glue (my favourite contact adhesive for re-covering – it’s clear, easy to apply, no overspray, no mess), Pigskin Split suede, replacement decals…
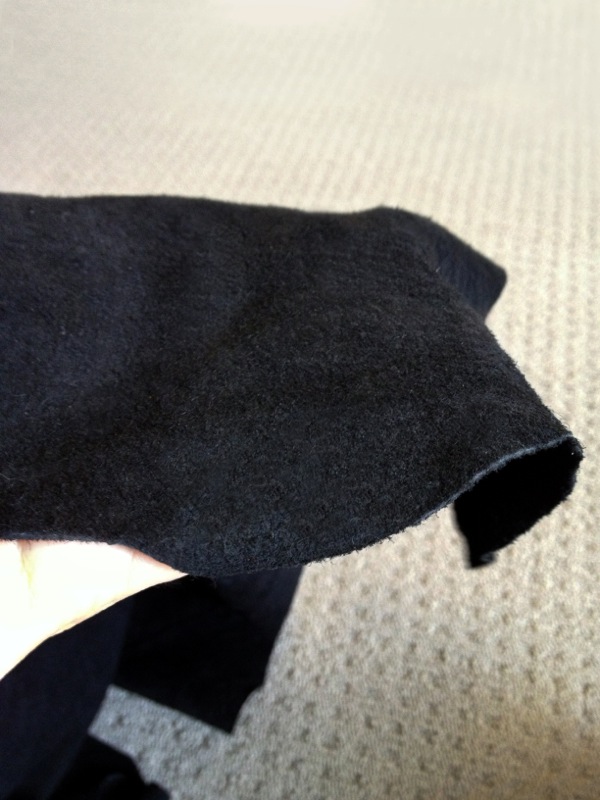
Pigskin Split suede – the perfect fine grain, light weight, pliable suede for covering bike seats. Available from Birdsall Leather…
Using the white pen to trace around the old cover, lying flat against the new suede, adding about 5mm extra wiggle room before cutting it out…
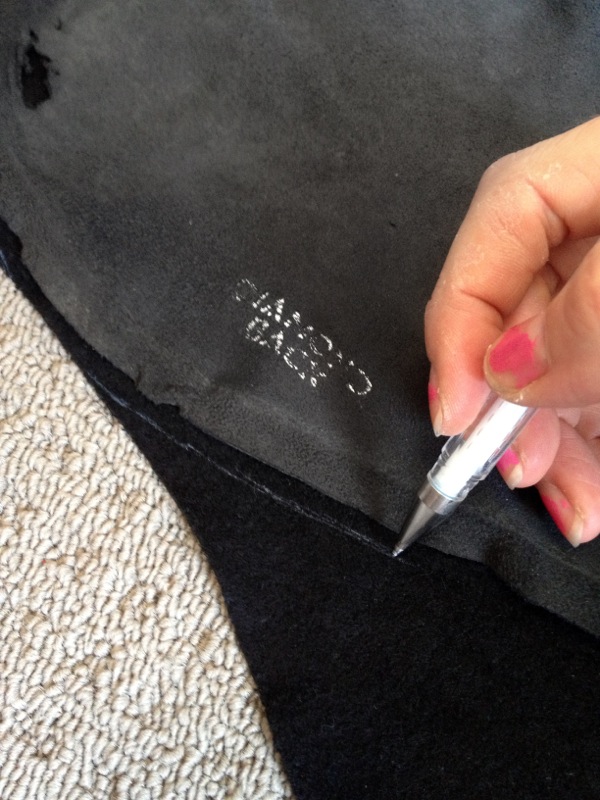
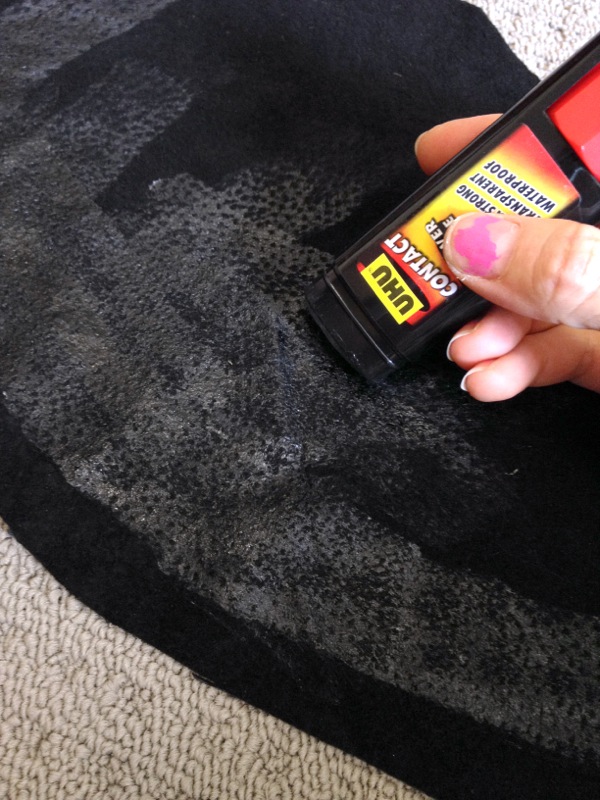
Applying the contact adhesive to the suede, leaving about a 15mm gap around all the edges. This way I can focus initially on covering just the top of the seat, without glue on the suede that will be tucked underneath prematurely sticking to anything…
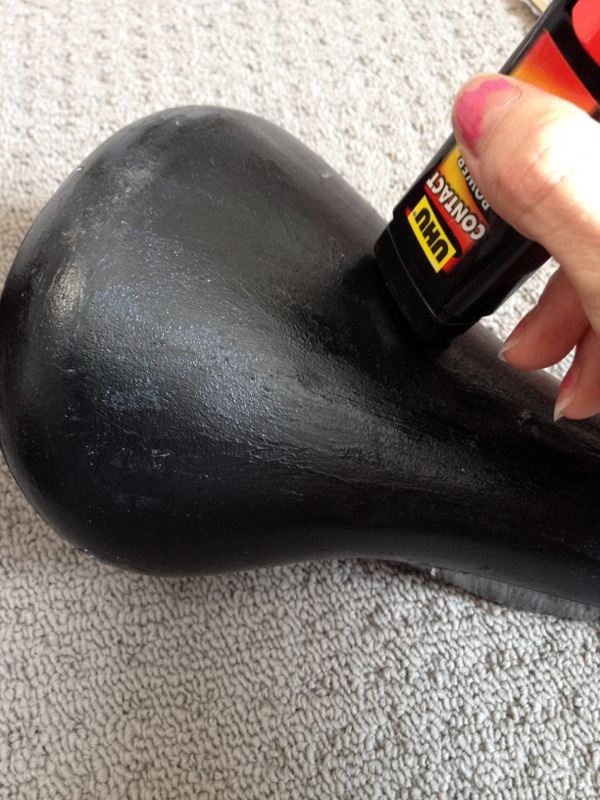
Applying the contact adhesive to every inch of the top, right down the sides, but not underneath (yet)…
Leaving the glue on both the seat and the suede dry for about 3-5min…
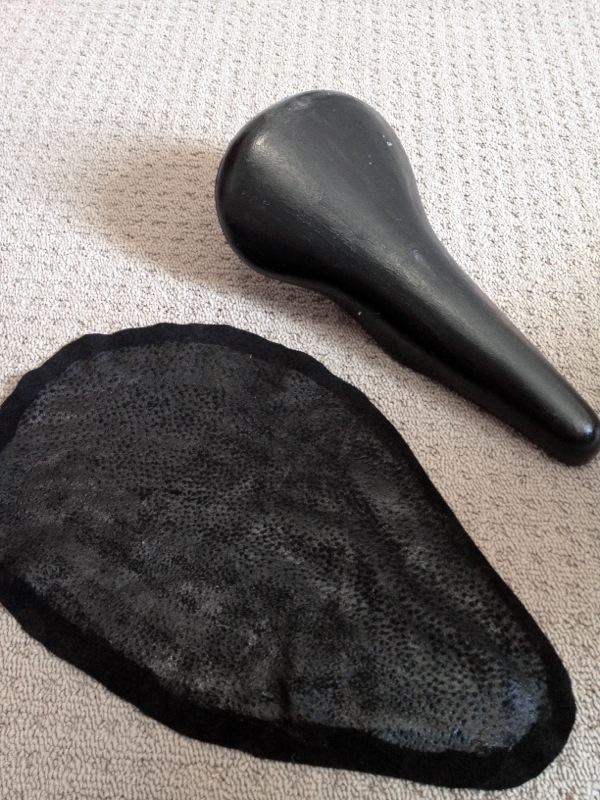
When the glue is touch dry on both surfaces, it’s time to apply the cover. It’s a good idea to have a rag handy from this point on to wipe of any excess glue that gets on your hands so you don’t mark the suede…
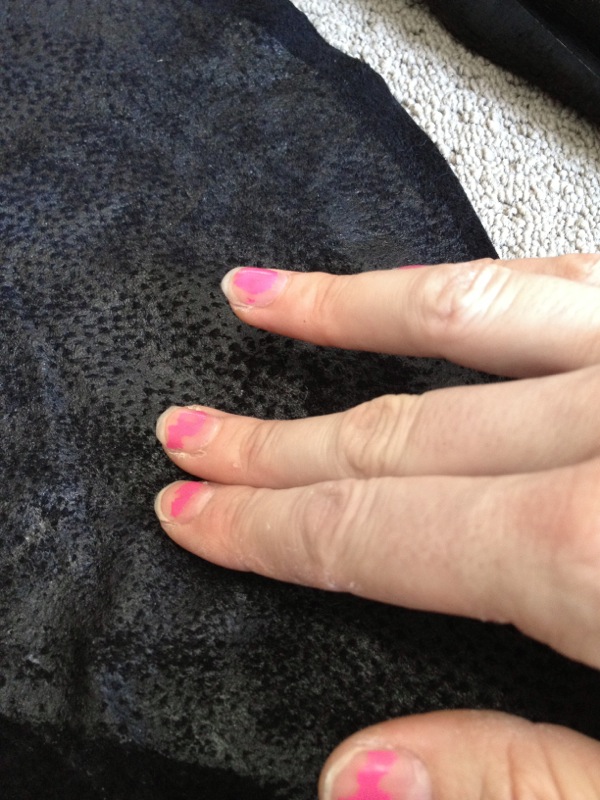
I always start at the front tip of the seat, with the suede lying on a flat surface. If I make sure that the tip makes contact centrally, and with the right amount of spare suede to later tuck under, the rest of the cover positioning will be easier…
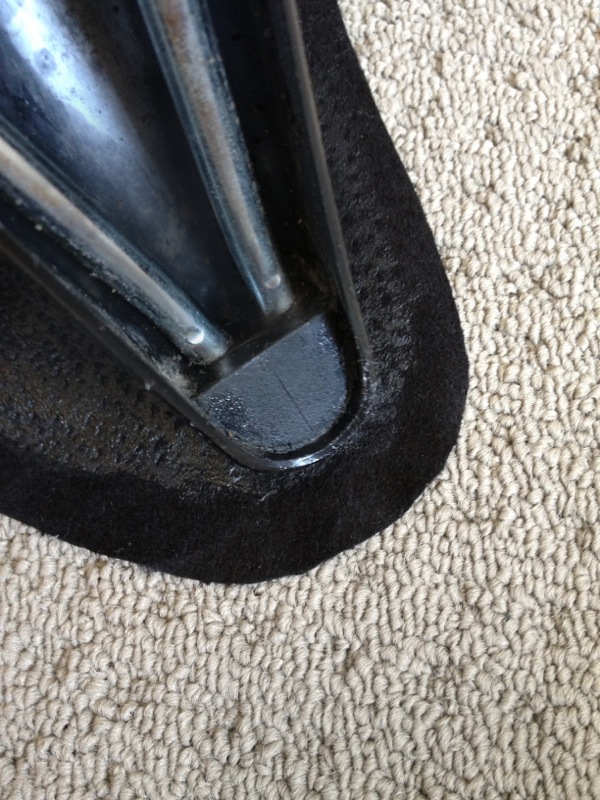
Then, with the tip of the seat stuck, I carefully lift the seat and use gravity to centre the rest of the cover as it hangs down from the tip like a plumb-line. When it looks centred I run a finger down the suede along the middle of the back of the seat so it sticks in the correct position…
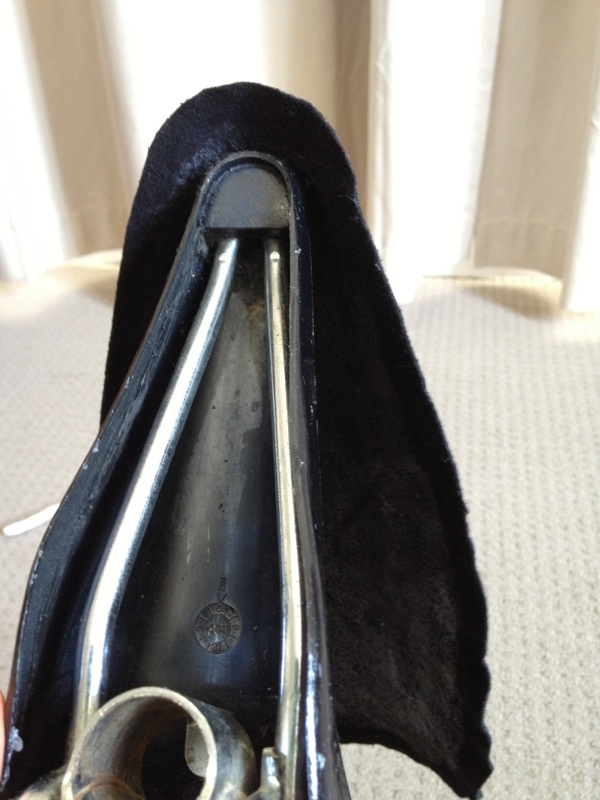
Slowly applying pressure from that middle line outwards, making sure there’s no wrinkles and applying tension where necessary to mould the suede to the contours of the seat…
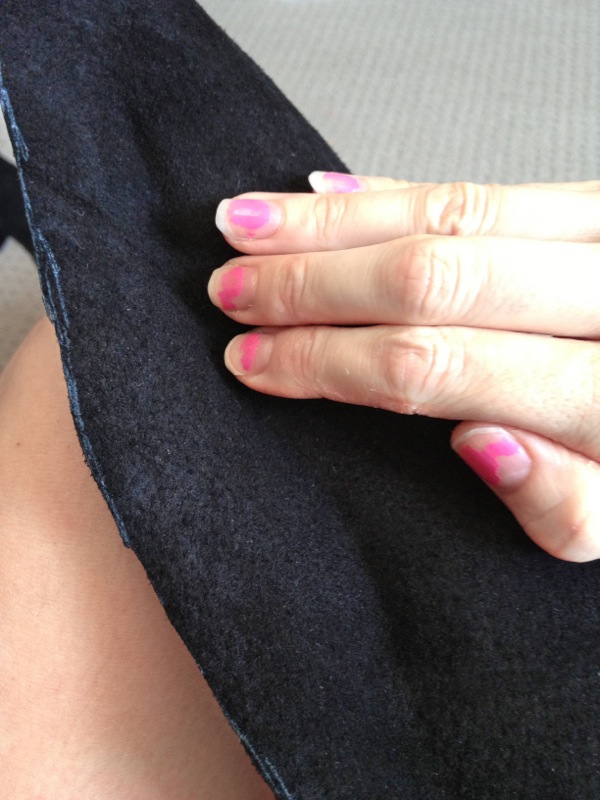
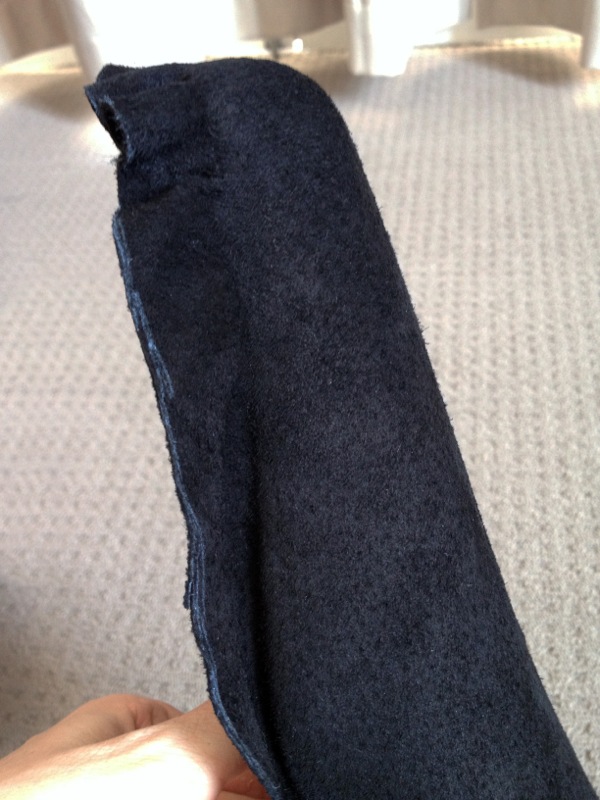
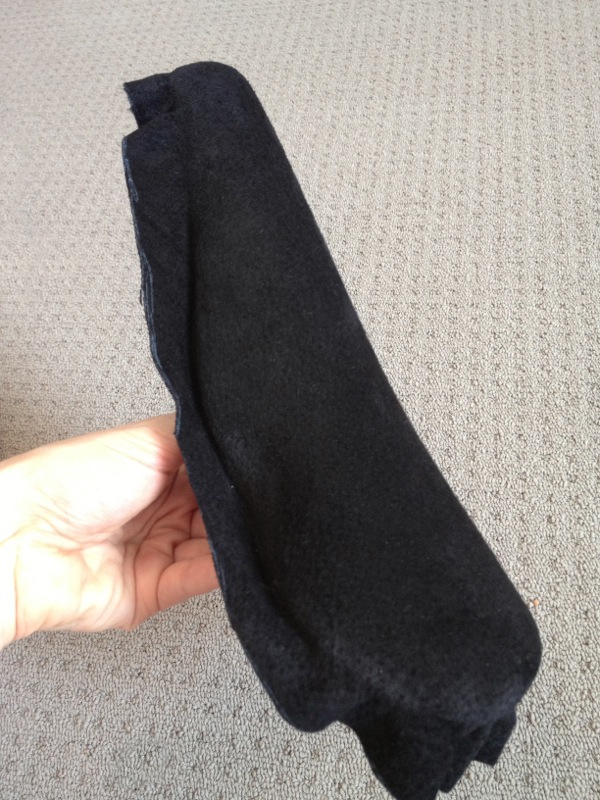
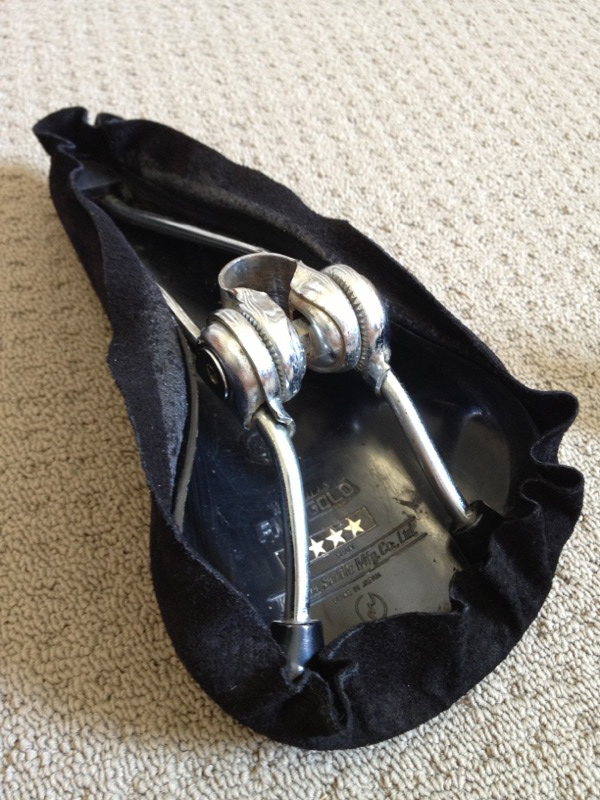
Finishing the underneath is the fiddly bit, so to make it easier I tackle it in sections. First I stick down the sides. They’re long and straight and stick down neatly, no darts or cuts are needed. I apply the glue to the suede all the way along the sides, and onto the corresponding inside edges of the seat…
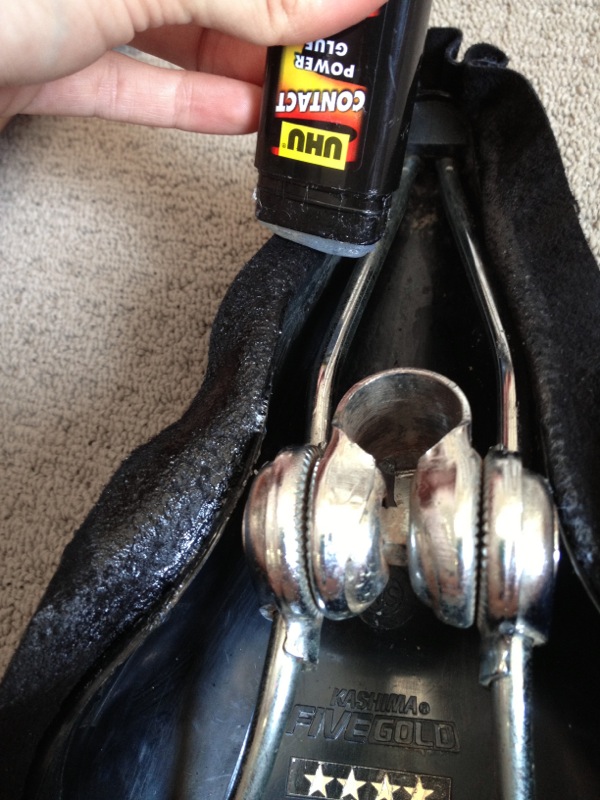
I use a palette knife to spread the glue between the inside edge of the seat and the rails and other tight areas…
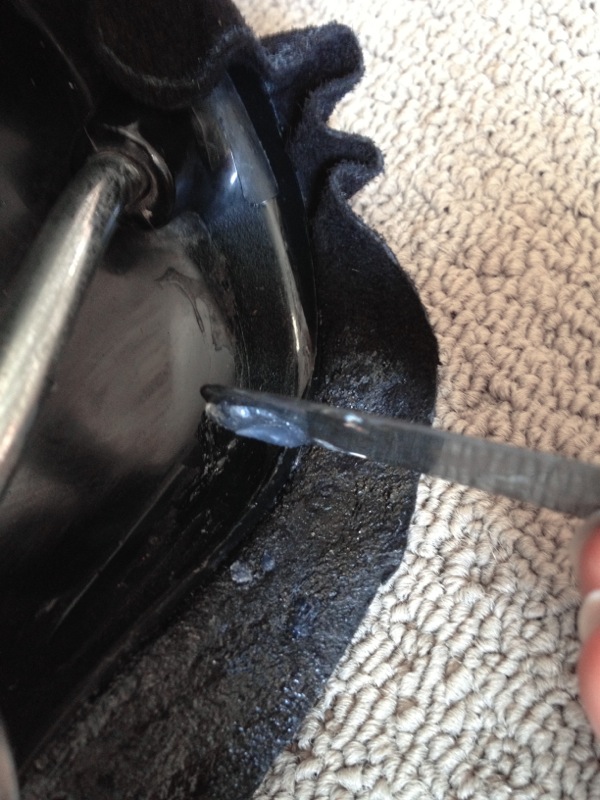
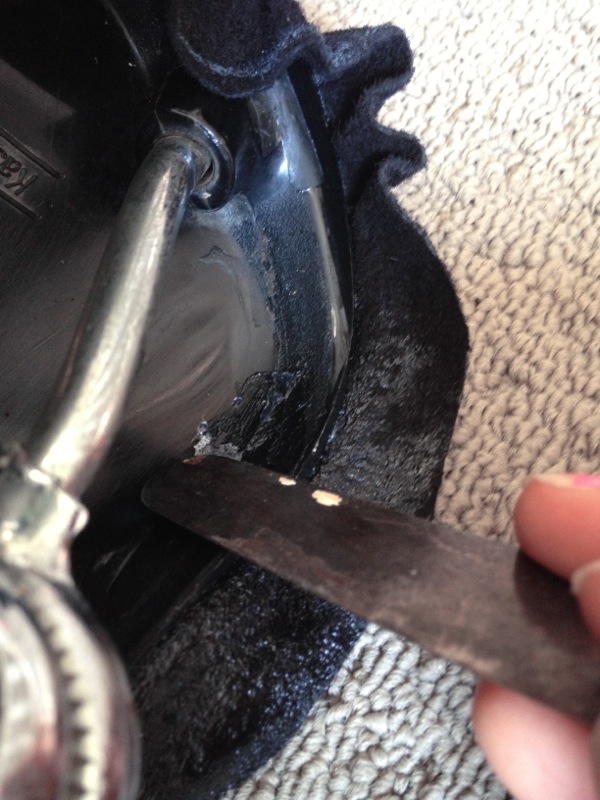
Once the sides are done I tackle the curve around the front tip of the seat…
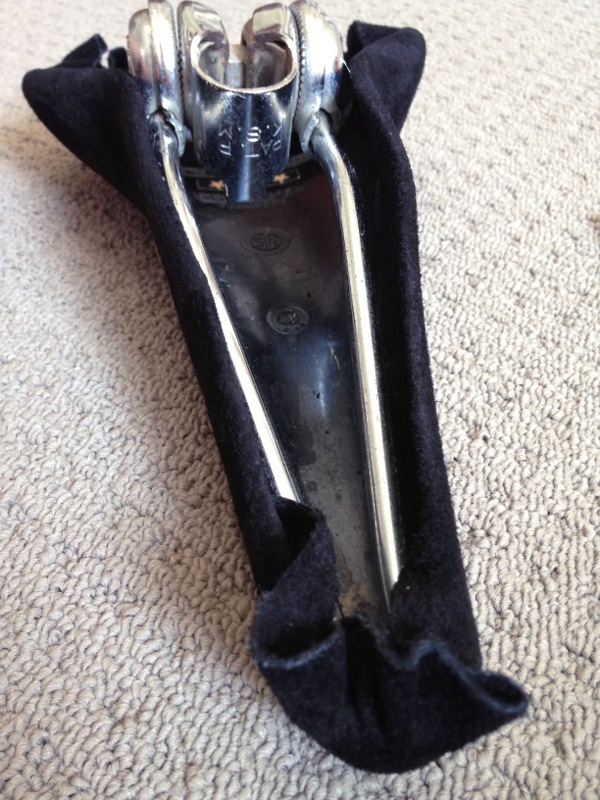
The excess suede from the curved tip of the seat needs to be thinned out so that it can be concealed neatly under the edge…
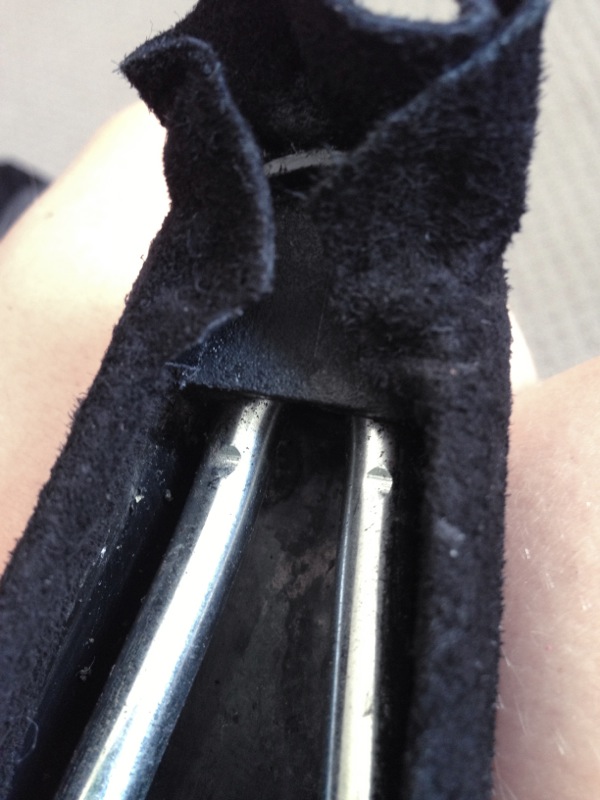
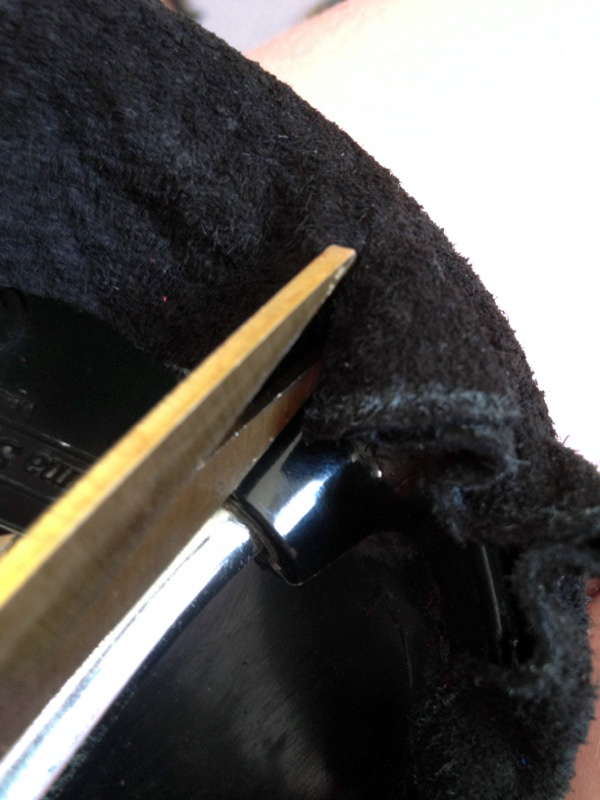
I cut out ‘darts’ out of the excess suede, usually about three of them, to within about 2mm of the edge, strategically removing a lot of the excess and allowing for a neat finish…
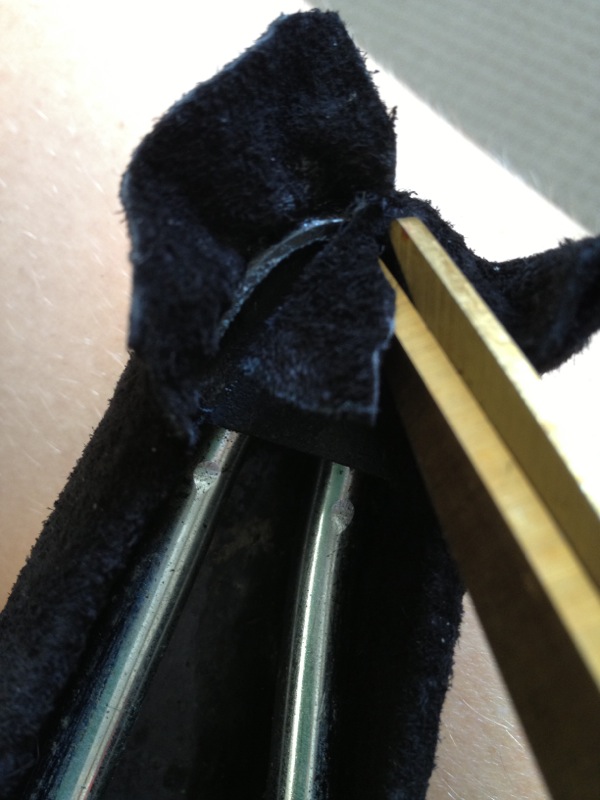
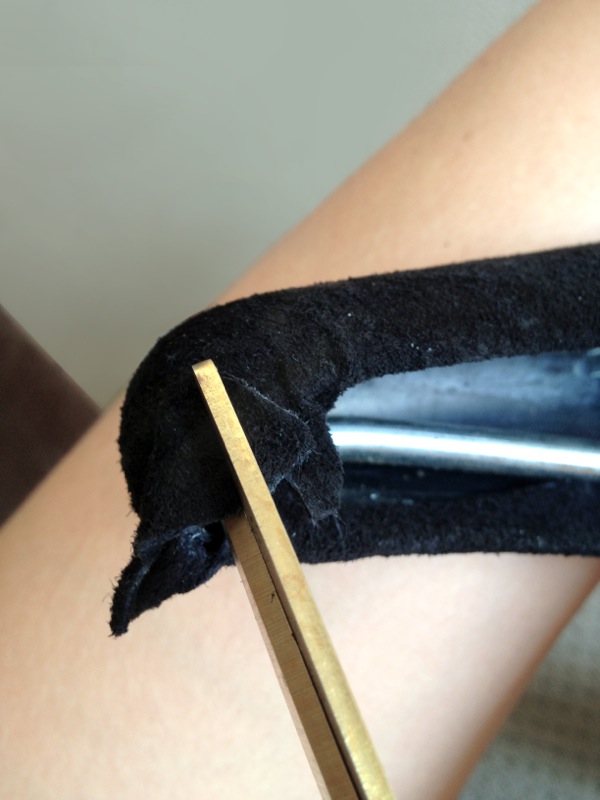
Darts cut out and remaining suede ready to glue down…
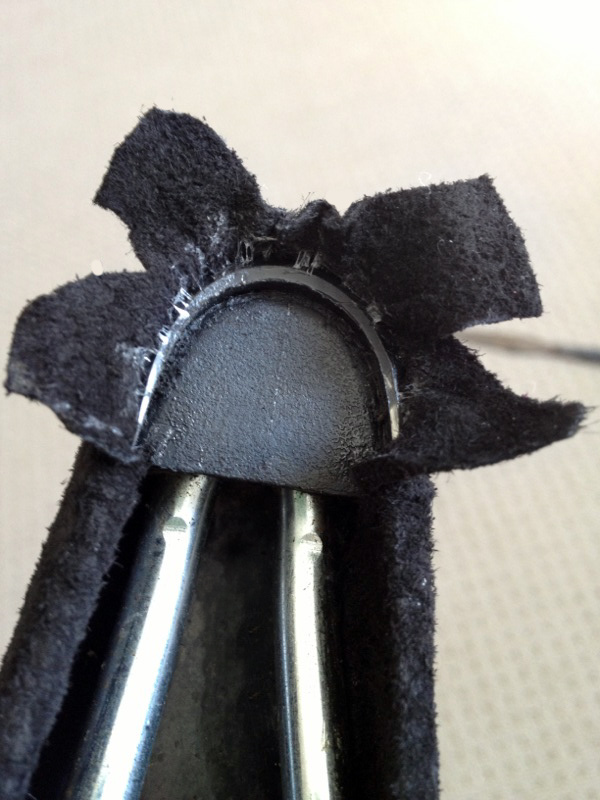
The remaining pieces need to be glued sequentially to allow more glue to be applied for the next piece, to stick firmly atop the previous piece (remembering to allow 3-5min for the contact adhesive to dry before sticking each bit down)…
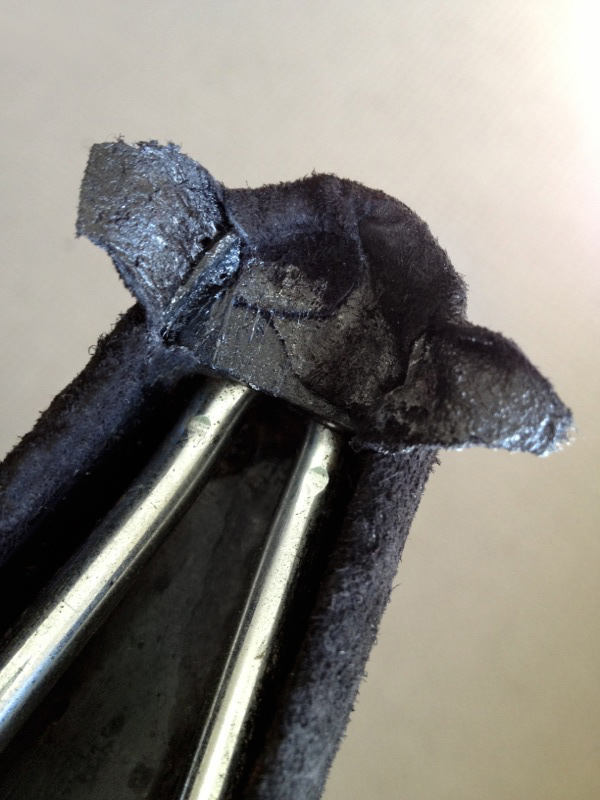
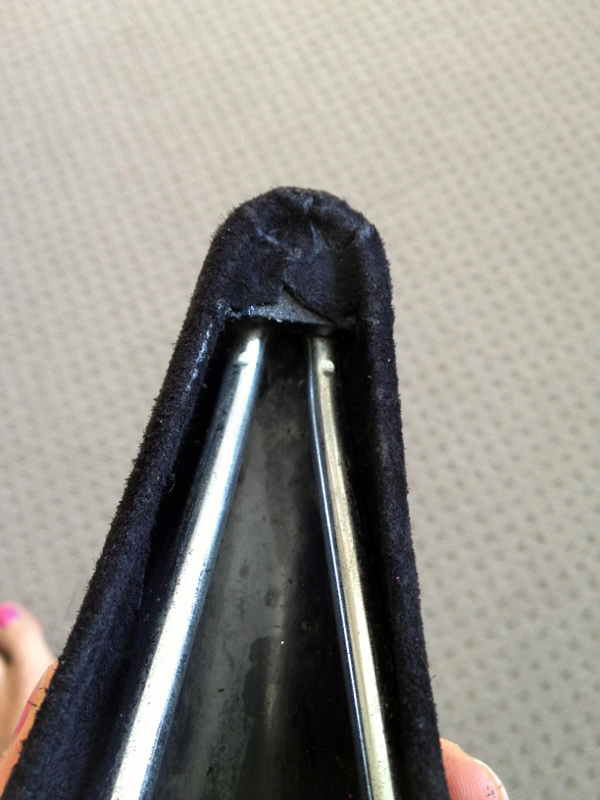

The rear curve follows a similar procedure. I usually cut four darts, with a longer section left in the middle to fit between the two rails…
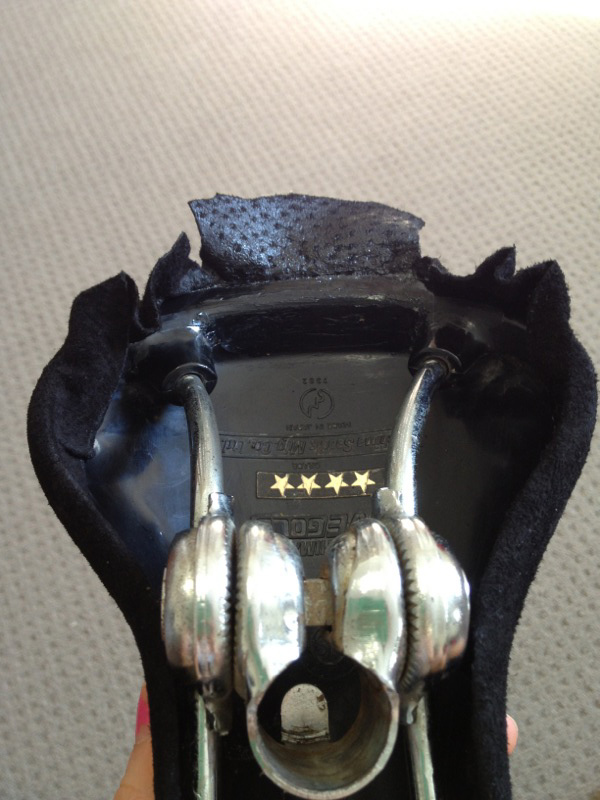
Re-covering finished and ready for decals…
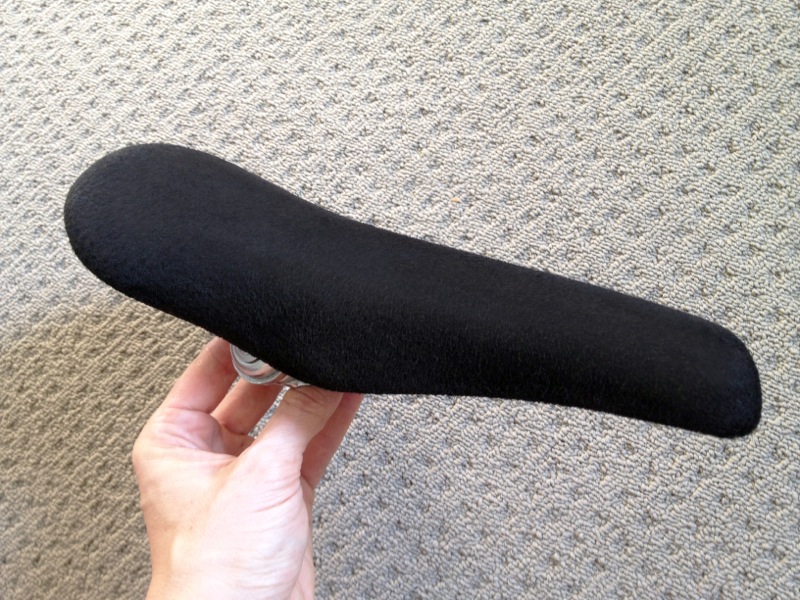
Commercial grade sign vinyl decals adhere well to the fine grain of the Pigskin split suede…
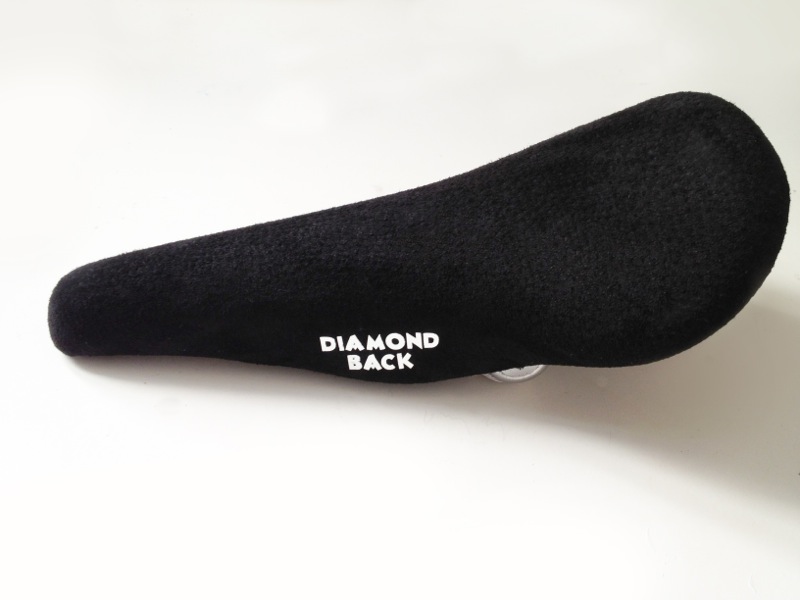
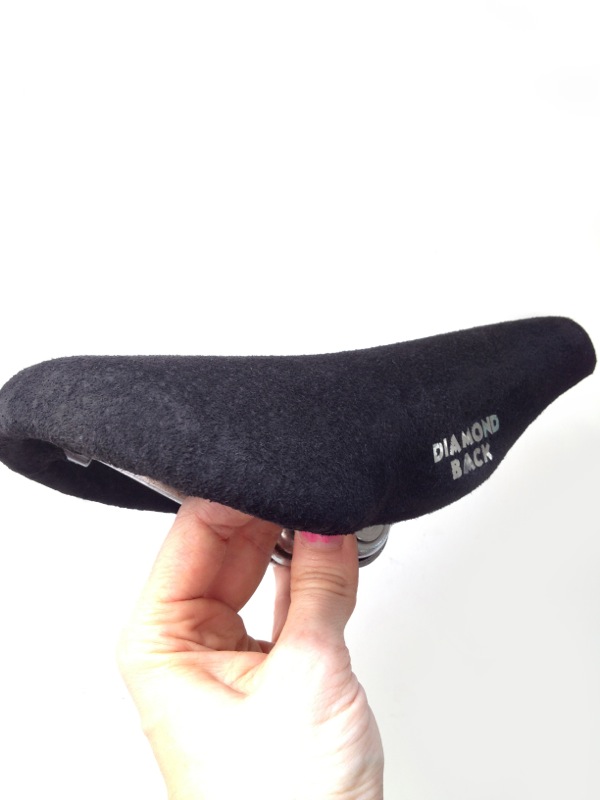

Ready to roll!!!
