De-Anodising
Whether you’re wanting to restore faded anodised aluminum parts for your vintage BMX, or turn your contemporary parts into mad polished bling, the trick to removing the hard/coloured anodised surface from aluminium is a really useful thing to know.
Understanding the Process of De-Anodising
…is helped by understanding a little of the science behind anodising itself.
Anodising is an electrolytic passivation process used to increase the thickness of the natural oxide layer on the surface of metal parts, particularly aluminium alloys (although anodising processes do exist for titanium, zinc, magnesium, niobium, zirconium, hafnium, and tantalum). Steel alloys and alloys containing copper can not be anodised.
The process is called ‘anodising’ because the part to be treated forms the anode electrode of an electrical circuit. Anodizing increases corrosion resistance and wear resistance, and provides better adhesion for paint primers and glues than bare metal. Anodic films can also be used for a number of cosmetic effects, either with thick porous coatings that can absorb dyes (as are most commonly used for colouring aluminium alloy bike parts) or with thin transparent coatings that add interference effects to reflected light.
Anodization changes the microscopic texture of the surface and changes the crystal structure of the metal near the surface. Thick coatings are normally porous, so a sealing process is often needed to achieve corrosion resistance. Anodized aluminium surfaces, for example, are harder than aluminium but have low to moderate wear resistance that can be improved with increasing thickness or by applying suitable sealing substances. Anodic films are generally much stronger and more adherent than most types of paint and metal plating, but also more brittle. This makes them less likely to crack and peel from aging and wear, but more susceptible to cracking from thermal stress.
Read more about anodising on Wikipedia…
Why De-Anodise Your Old Bike Parts?
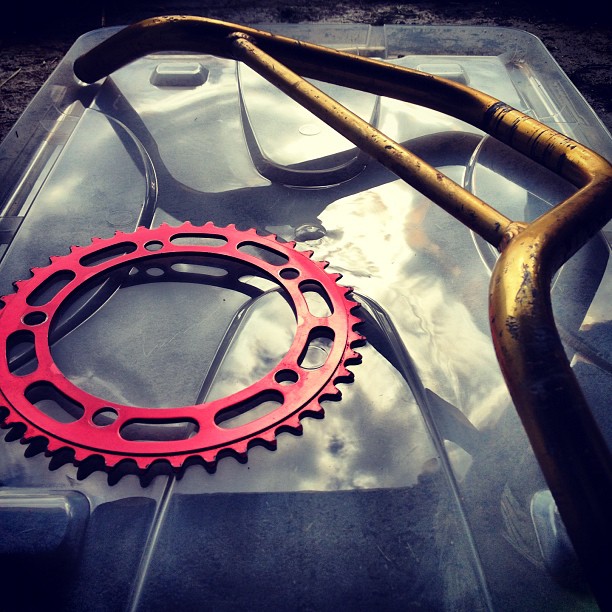
As aluminium became the metal of choice for light weight high-end BMX parts (and some frames) from the late 70s onward, anodised colours became very popular. With different parts from different manufacturers sustaining different thicknesses of anodising and different qualities of dye, many anodised ‘survivor’ old school BMX parts found these days are faded, worn and in need of attention. Whether you want to re-anodise a part to bring the colour back to its former glory, change the anodising colour to match your build, or polish the part to a high shine, you’ll need to remove the original anodised coating first.
How to De-Anodise Your Aluminium Parts
The de-anodising process is really very simple. Make sure your aluminium parts are clean, degreased and free of stickers, glues, adhesives or paints. You’ll need some caustic soda (available at most supermarkets, hardware stores and some pharmacies), a container in which you can comfortably immerse the parts you want to strip, and some tongs and heavy duty gloves for protection.
Caustic soda is sodium hydroxide (aka lye) — a highly caustic metallic base and alkali salt that reacts vigorously with aluminium and its alloys to deconstruct the surface of the metal. Hydrogen gas is the byproduct of this reaction (2 Al + 2 NaOH + 6 H₂O → 2 Na[Al(OH)₄] + 3 H₂), and while it won’t hurt you it’s very unpleasant to inhale, so good ventilation and avoiding breathing in directly over the container while the parts are in the solution is definitely recommended.
With your parts cleaned and ready, start by filling your container with hot tap water (not boiling) to a level that will cover the parts. Wearing your gloves and before adding the parts, sprinkle a little caustic soda into the water and give it a stir to help it dissolve (be careful to avoid any contact with the caustic solution and your skin/eyes). There are no specific ratios to use when mixing up your caustic soda solution for de-anodising, it’s simply a case of the more caustic soda added, the faster the process.
When the soda is dissolved, using tongs, submerse your aluminium parts into the solution (make sure there are no steel parts included — the caustic soda reacts detrimentally with steel and may cause damage). Stand back and watch; as the reaction starts to happen you’ll see bubbles rise directly from the parts forming cool shapes in the surface of the water — when this happens you know the process is proceeding as it should. In the picture below you can see the bubbling shapes of the parts in the solution…
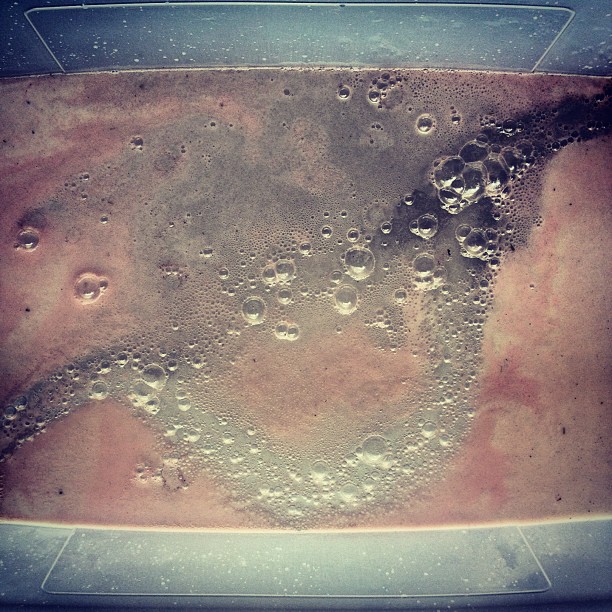
There’s no specific time frame to leave the parts in the solution — different strengths of solution, different levels of anodising, and different make-up of alloys can affect the speed of the process. It’s important to check the parts regularly; use your tongs to pull them out and check the colour and surface. For flat parts like chainrings, it’s a good idea to turn them every 5–10 mins to make sure that both sides are stripped evenly.
When you’re happy with the result, remove the parts from the solution and rinse them thoroughly with clean water. To neutralise any remaining caustic soda on the surface, a quick dip in a mild acid solution (such as white vinegar) followed by another thorough rinse is recommended. Your parts are now ready to polish, re-anodise, or plate.
Safety note: Always dispose of your spent caustic soda solution responsibly — never pour it down the drain in large quantities. Dilute heavily with water before disposal and check your local regulations.

Cleaning De-Anodised Parts
The more pure the aluminium content of the part, the cleaner it will come out of the caustic bath. The higher the content of other metals (as in high-strength aluminium alloys like aircraft grade 6061 or 7071) the blacker they will appear coming out of the caustic soda. This black soot is a result of the NaOH alkali salt (caustic soda) reacting differently to the other metals present in the alloy and can sometimes be hard work to remove.

Here’s a cleaning tip:
I start by giving the blackened parts a good scrub with a fine grade steel wool as soon as they are out of the bath. To help loosen up the sooty residue left in the tight spots I use an old trick traditionally used for cleaning blackened aluminium saucepans. Mix up a solution of 3tbsp of white vinegar, 3tbsp cream of tartar per litre of water in a good sized saucepan, add the parts and gently simmer the parts for at least 20min.

It works like a charm to soften up the remaining soot so that after a final scrub with steel wool you’ll be ready to start the polishing process.
